We started the task of attaching fabric to the bottom of the wings. First we had to determine what surfaces needed adhesive. We then applied three coats of glue to those surfaces. Boy did it take a lot longer to add the glue to these areas. We were used to "small" parts, but now that we've moved to the wings it surprised us how long it took to add the adhesive.
Once the adhesive was dry it was time to attach the fabric. In order to get a good straight line on the leading edge glue line, we snapped a chalk line on one edge of the fabric and then cut to that line. We started attaching the fabric to the leading edge, working from the middle outward. Once we were happy with that attachment, we added the thinned adhesive to the rest of the leading edge, wrapping around to the bottom surface of the wing. We used irons at 250F to get any bubbles/wrinkles out of the glued fabric. We had to cut holes for the strut attach bracket and jury struck bracket. We also had to do some custom cutting around the leading edge cuff. Finally we started working our way down the rib caps. Hours: 5
 |
| Added three coats of adhesive to the wing |
 |
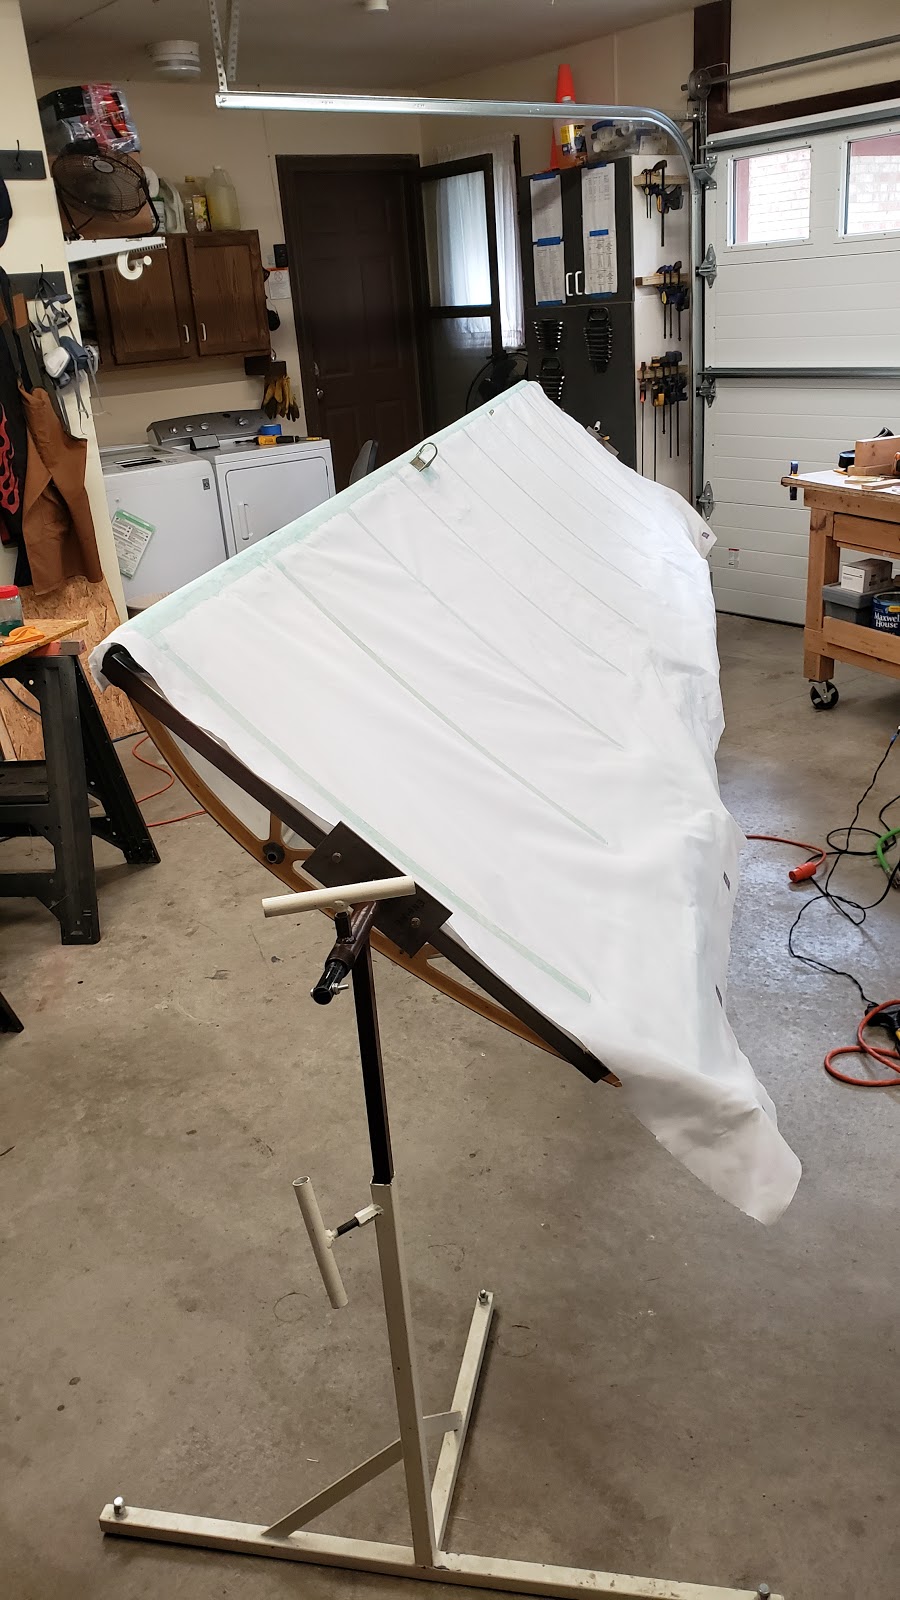
| Fabric glued to the leading edge |
 |
| Fabric Glued to the bottom of the ribs |


No comments:
Post a Comment