After creating the poster board pattern for our fuselage paint detail, we transferred that to some low tack stencil vinyl and placed that on the fuselage. The edge was kept 1/4 inch short to account for the final finishing tape that will be applied later. Then the straight tape was placed, again being kept 1/4 inch from the final paint line. At the door opening, we had to make sure paint line would remain horizontal, so care had to be taken when placing this tape.
We completed both sides of the initial tape. We then placed masking plastic on the top portion of the fuselage to protect it from the orange paint. This also wrapped around the vertical stabilizer.
We finally placed high quality vinyl finishing paint tape on fuselage making sure to keep straight lines straight and curved lines having smooth gentle continuous bends.
 |
| Ed marking the placement of final paint tape |
The area to be painted was scuffed using a gray Scotchbrite pad. This included primed and painted areas. This step makes sure the new paint has something to bite into and adhere correctly. Hours: 8
 |
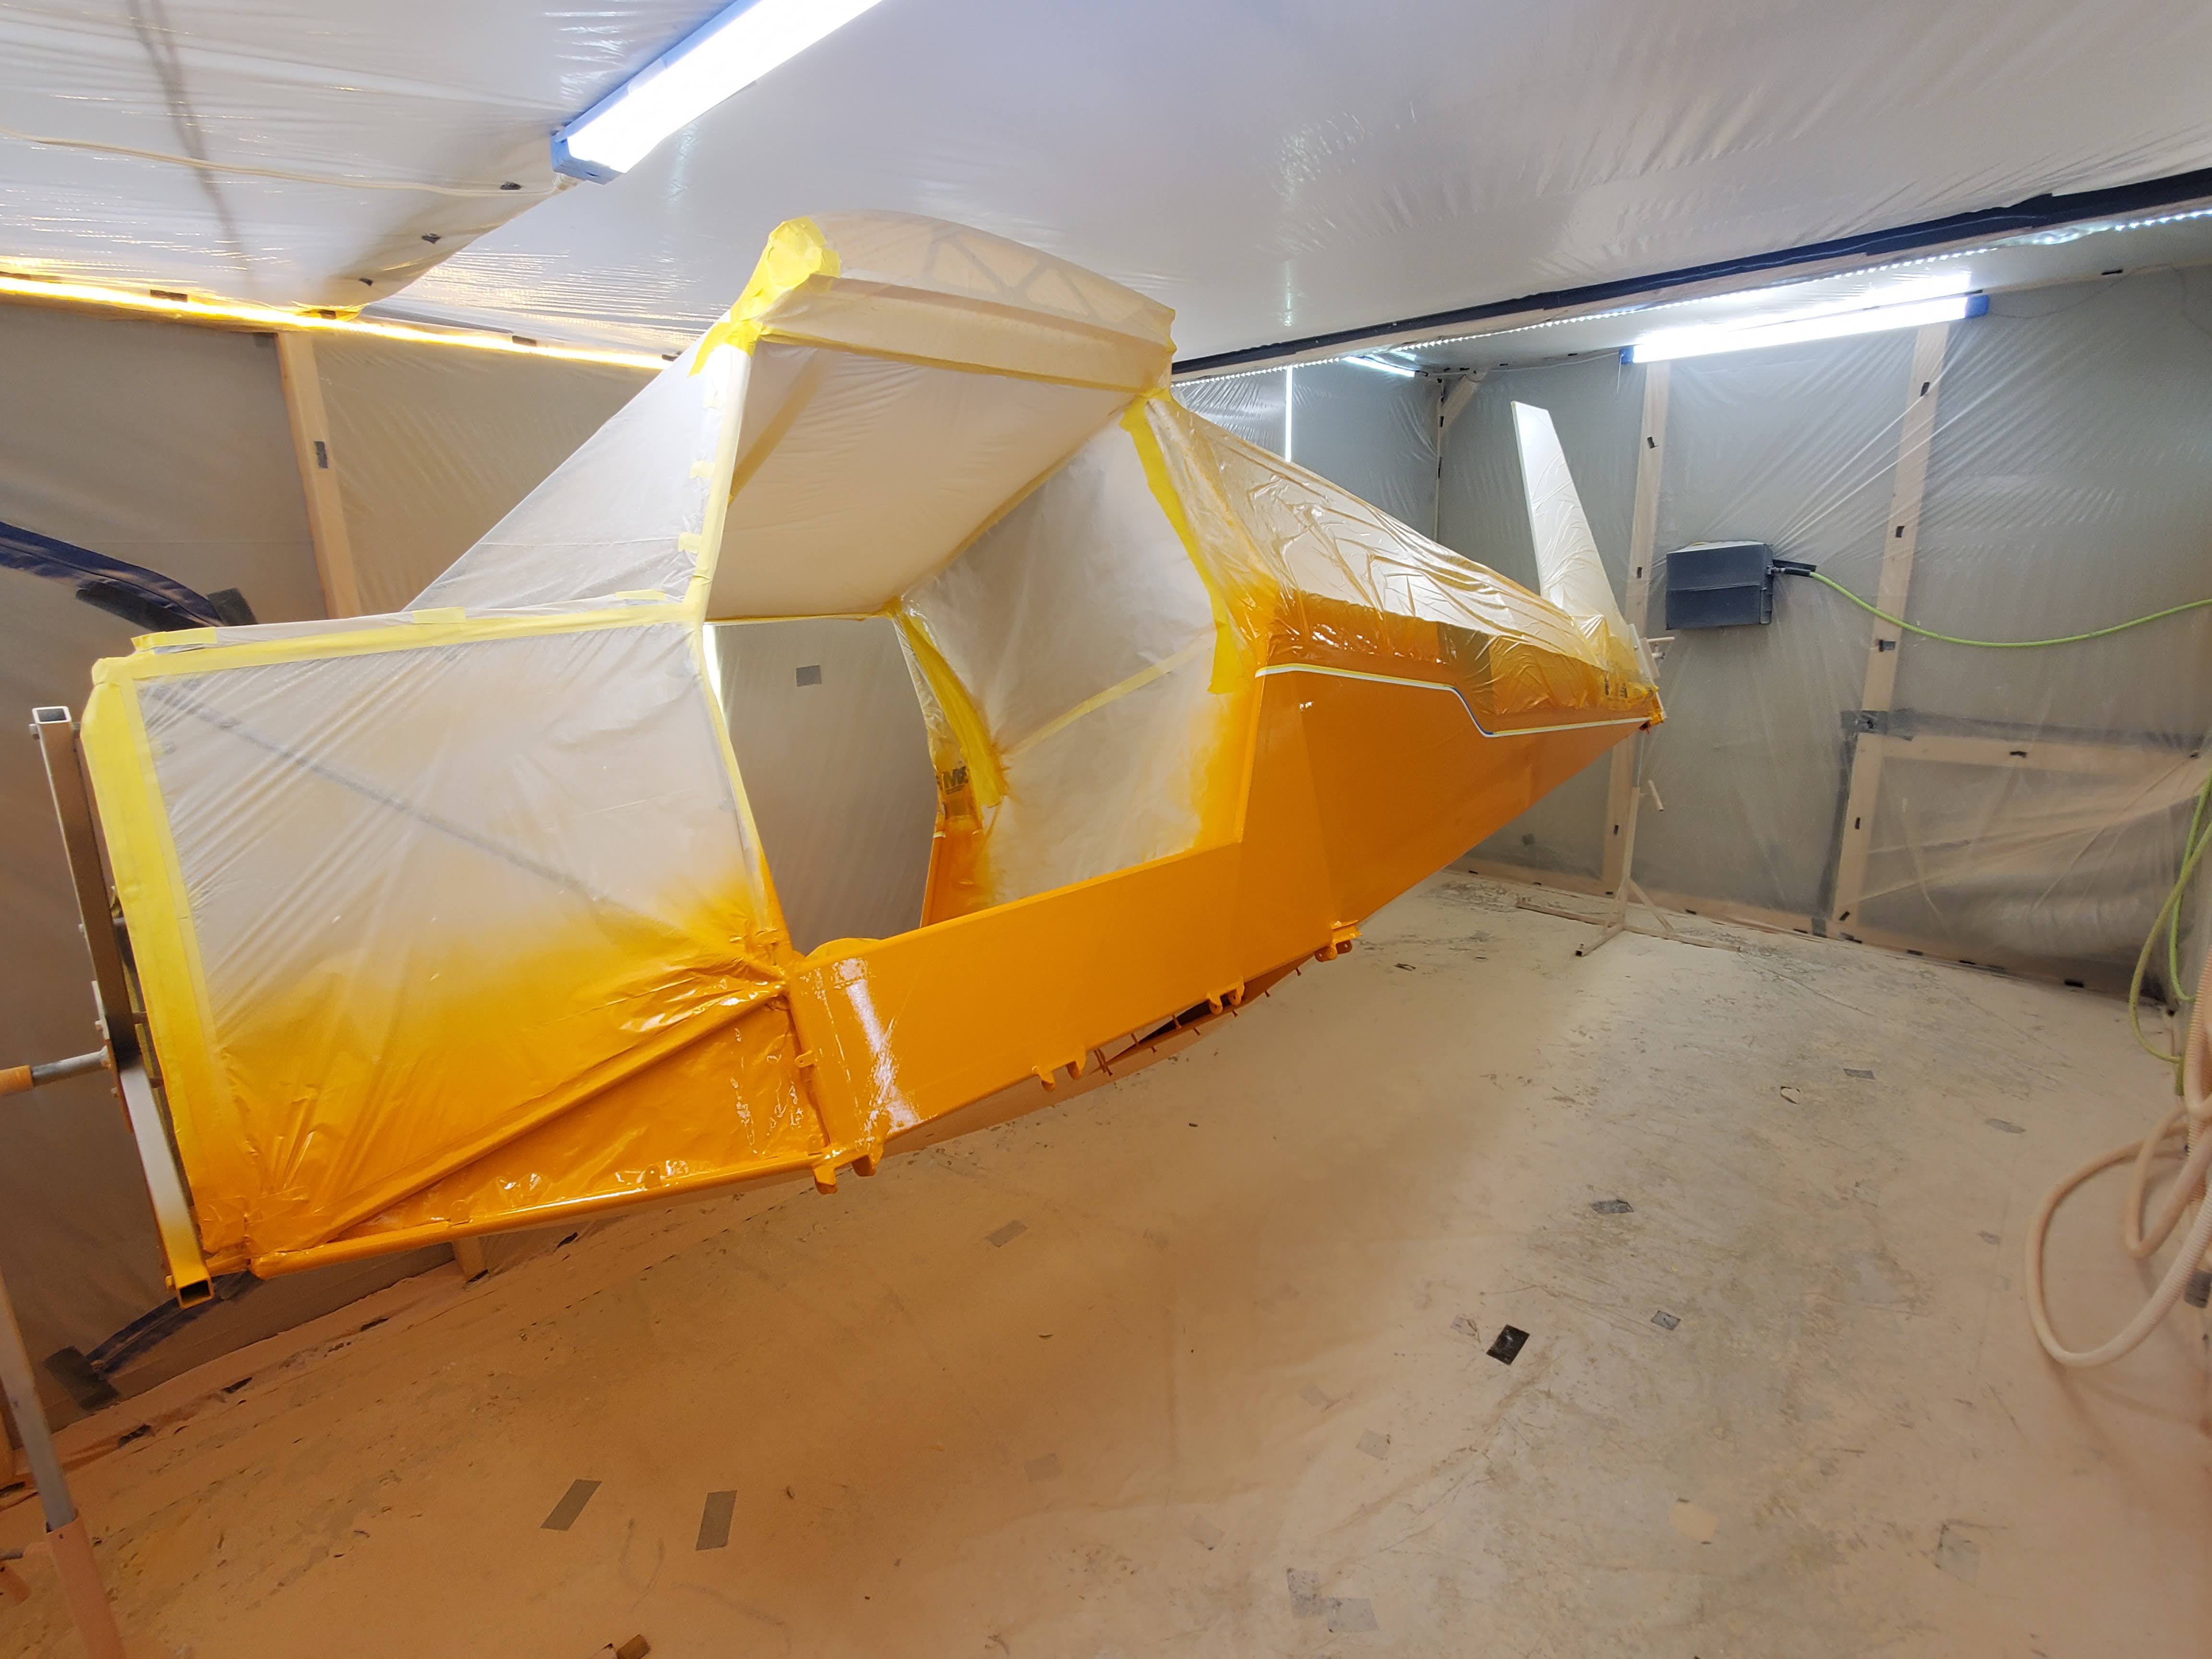
| Fuselage is ready for Orange Paint |