Showing posts with label Interior. Show all posts

Monday, April 1, 2024

Cup Holders and Rudder Gust Lock

We've been trying to think of a way to have cup holders in the cockpit and now we have four different locations for mounting cup holders.  We purchased some belt cup holders from Amazon and have two pieces of "velcro".  We sewed mating pieces of Velcro into the fabric around the control sticks in four locations to allow us to move the holders around.  Well, after a short flight they worked out wonderfully and we're very happy with the outcome.

Velcro added to carpet

Cup Holder installed

A second location installation

Michael took a rudder gust lock design by Trent Palmer for his Kitfox and modified it to work for our Highlander.  The design was 3D printed and seems to work great.

Gust Lock installed on Rudder Pedals

Wednesday, July 19, 2023

Rear baggage wall, W&B, Taxi test

Fabrication of the panels for the rear baggage wall was completed and they were then installed with self-tapping screws.  A power connector located in the center allows for easy connection to a battery charger/tender for our aft mounted battery.  Holes were precisely located for the rudder cables and elevator push/pull tube.  A large notch was cut out on one side (and then covered with plastic) to allow for a good RF (blue-tooth) connection to the transponder which sits directly behind the panel.

Rear baggage wall

A protective cover for the elevator push-pull tube (with lightening holes) was screwed down to the baggage floor.

Elevator push-pull tube cover

We changed out a fuel hose running from the header tank to the Curtis fuel-test valve.  We noticed that the old hose (Versilon SE200 tube) had two small kinks where there were slight bends, so we decided to just replace it with a more robust hose.  The hose we used was a Parker 397 Superflex hose purchased from Aircraft Spruce.

We ran some fuel tests to determine unused fuel levels in the tanks when level.  The two wing tanks which hold 13 gallons each, have about 1/2 gallon of unused fuel each.  The header tank which holds 2.3 gallons has just 8 oz of unused fuel.   

With all parts on the plane (including all inspection covers), we performed a weight and balance check.  The empty weight for our airplane is 824 lbs, and the center-of-gravity came out to be 10.9" aft of the datum (which is the leading edge of the wing).  This works out nicely and is well within the limits of 9-15.5".  We will perform later calculations for most-aft loading and most forward loading, but everything is looking good at this point regarding our weight and balance.

We rolled the plane out of the hangar and did a magetometer intereference calibration.  

Plane pulled out of hangar for a few tests

Then we decided it was finally time to fire it up and taxi it around for the first time.  The airplane fired right up, and we took turns taxiing it around the back of the hangars for several minutes.  This went well and gave both of us a chance to get a feeling for how the steering works with the differential toe brakes.  The steering worked great and we had no problems with taxiing.  Hours: 15

Initial taxi test at KTTA

Friday, July 14, 2023

Glareshield, Fire extinguisher

The glareshield was installed using black screws along the front.  Two small Garmin GPS antennas are mounted on the glareshield, with cables routed down the center hole to the back of the instrument panel.

View of glareshield from outside

Glareshield installed

A small Halon fire extinguisher was installed next to the flap pulleys behind the seats.  Before picking this location, we checked to ensure that it was easy to access, even when the pilot is buckled firmly into the seat.  Hours: 7

Fire extinguisher installed

Wednesday, July 12, 2023

Door latches, Floor pans, Dataplate, Antennas, Fuel labeling, PTT wiring

 The latch for the pilot side door was re-drilled (correctly this time around), painted black, and installed.

Both the front and rear floor pans in the baggage area were installed with sheet metal tapping screws that came in the kit.  Nut plates were installed in the front floor pan for an inspection cover.  This cover is right above the transponder/ADSB antenna and will allow for much easier inspection than removing the entire floor. After installing the floor pans, the flap pulleys were reinstalled and torqued down.

Baggage floor pans installed

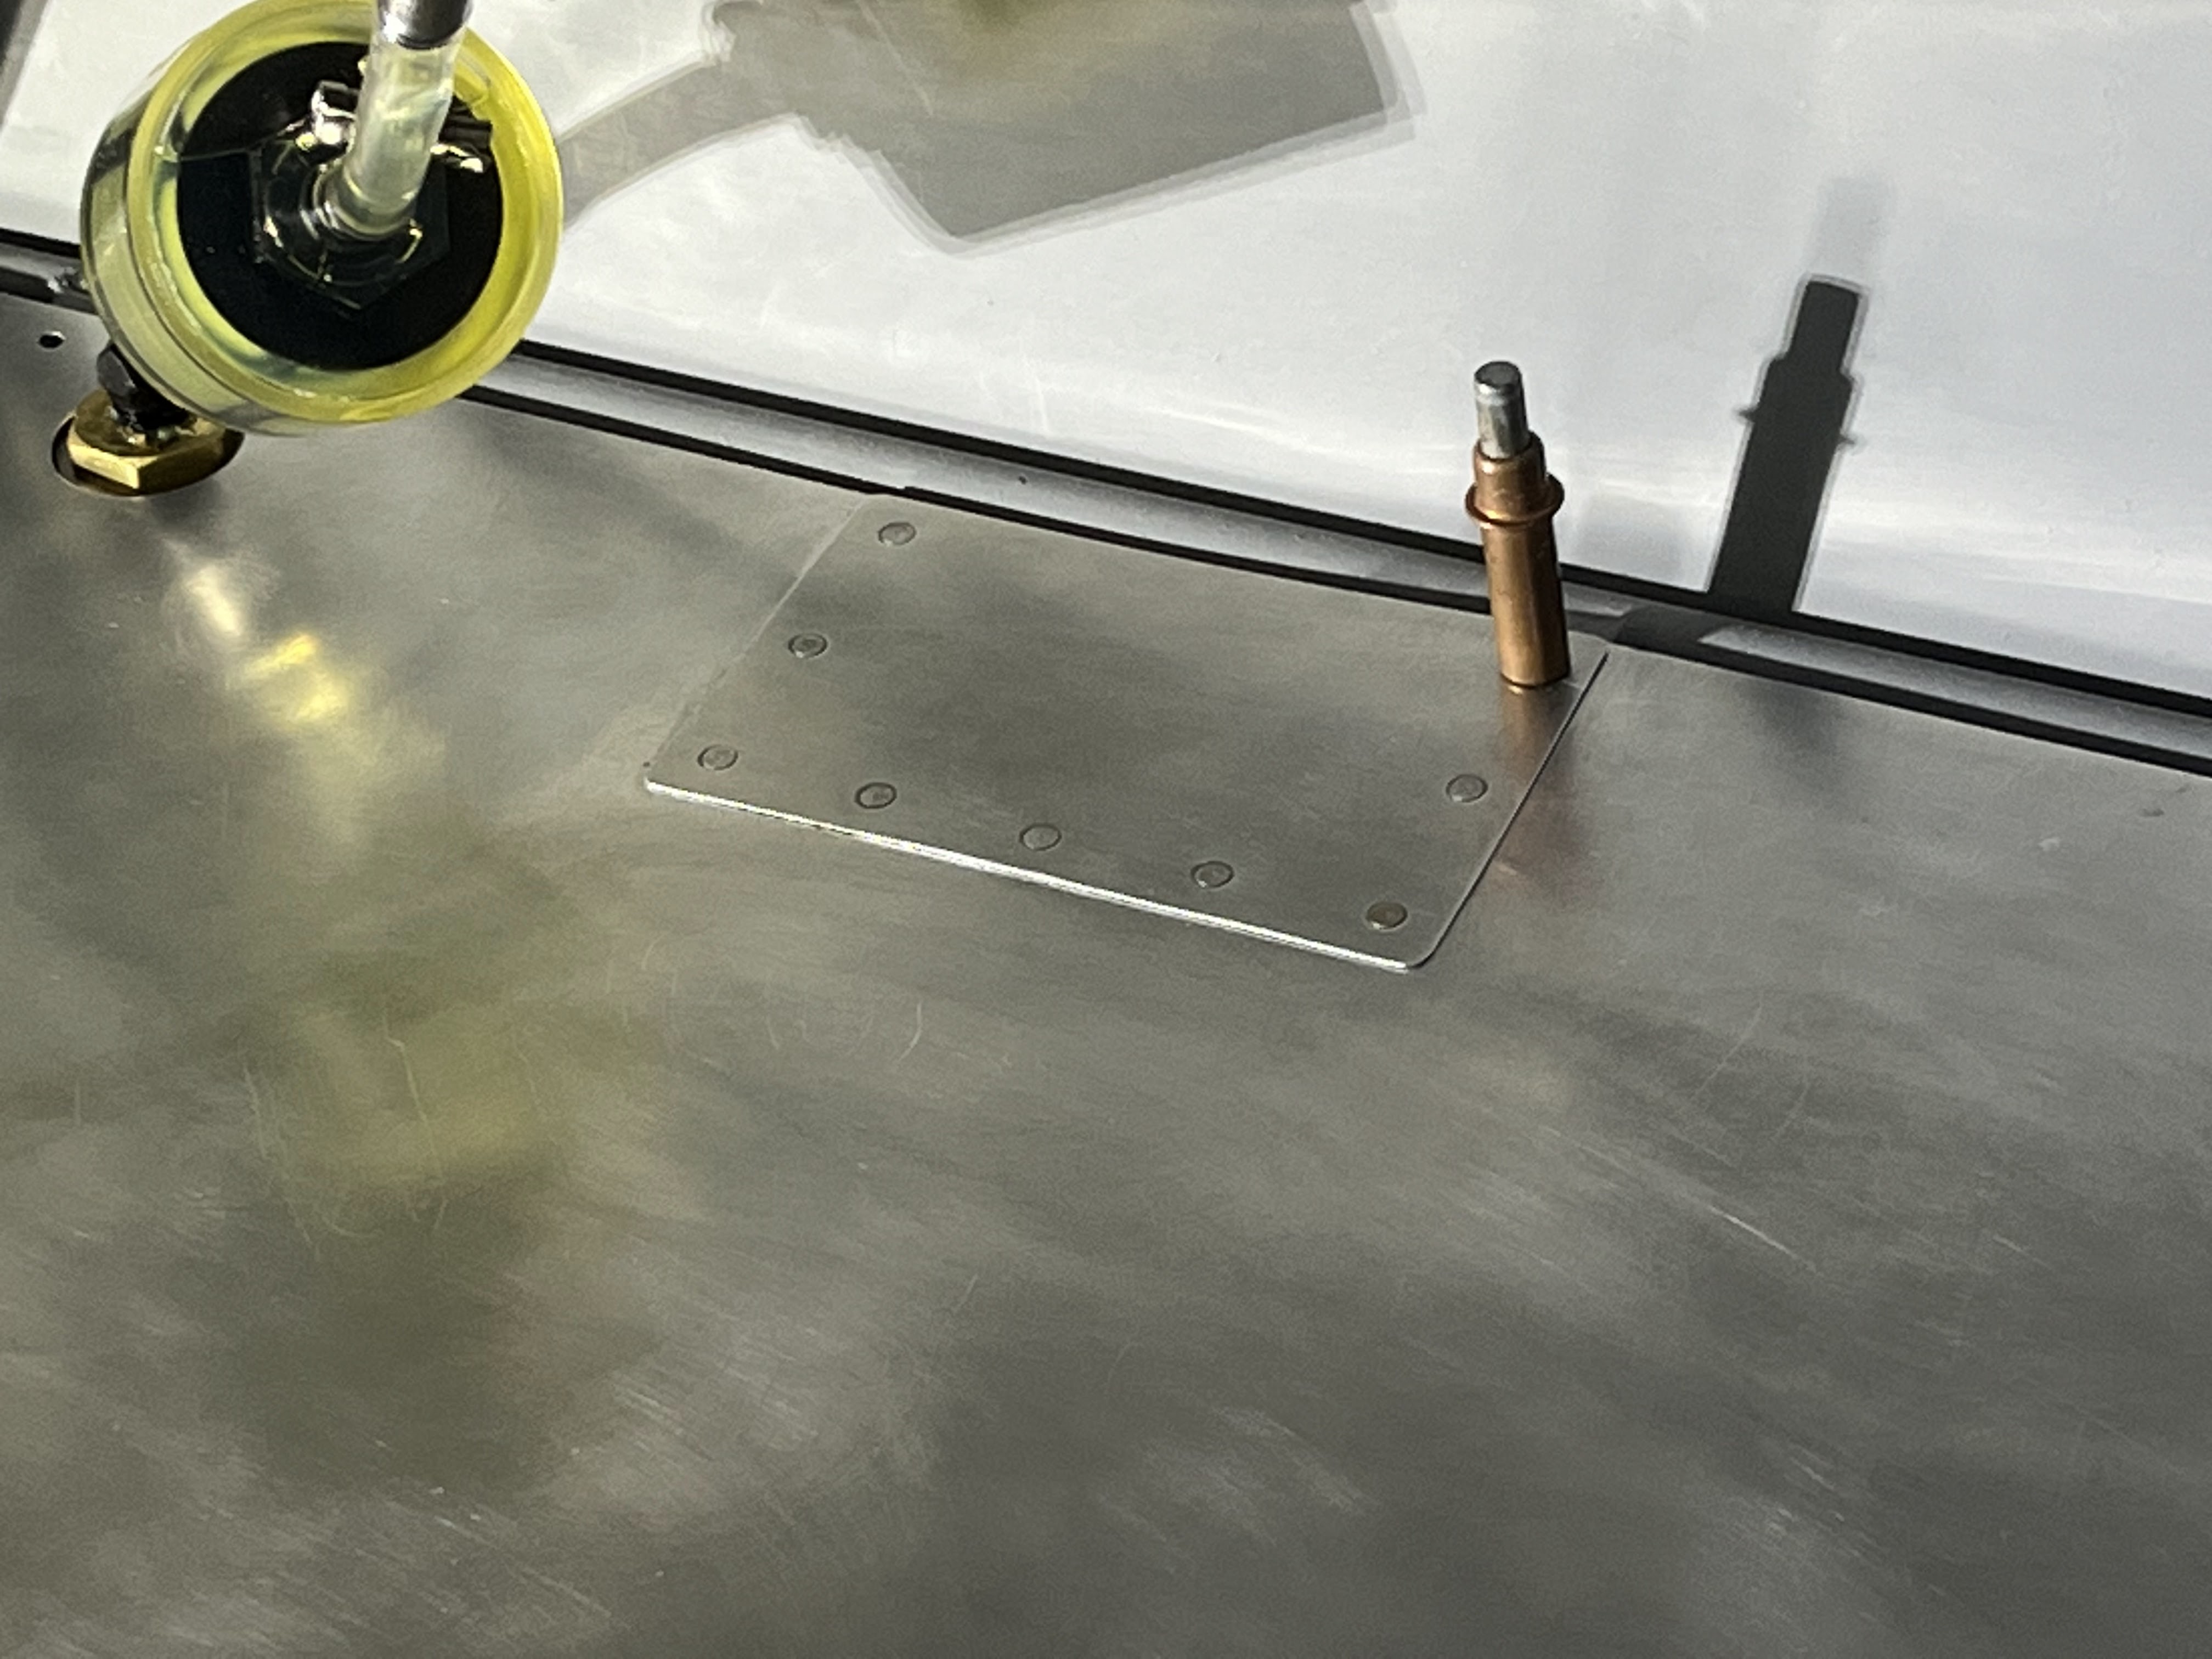
Inspection cover plate

The aircraft dataplate was riveted on with a stainless steel backer plate.  This is located under the tail on the pilot side.


The Garmin GPS antenna was torqued down.  Also applied a very thin bead of silicone caulk on the bottom side prior to torqueing the screws to keep it weatherproof.  There is a thin metal plate under the fabric that serves as a ground plane.  The transponder/ADSB antenna on the bottom side was also torqued down after first making and installing a foam gasket to seal up any gaps between it and the fuselage.

Final install of GPS antenna
Final install of Transponder/ADSB antenna

Adhesive labels for the fuel valves were made and applied to the triangular fuel cutoff plate.
Descriptive labels applied

Did some cleanup of PTT wire routing to the left flight control stick.  Will need to do the same for the right stick.  Hours: 15.5

Thursday, June 15, 2023

Glare shield, Fuel lines, W&B check

Another fuel hose connection was completed, and we now have a shut-off valve between the left wing and header tank.  This shut-off valve can be closed to prevent fuel from cross-feeding between the wings if parked on a slope.                                     

Fuel hose from right tank to shut-off valve

A flat black vinyl covering was applied to the glare shield, and two small GPS antennas (backups for the G3x and G5) were installed on top.   A test fit of the glare shield was done and we're happy with how it looks.  Final installation of the glare-shield will wait until we finish some other work behind the panel (pitot-static routing and wiring cleanup).  We also removed a protective film covering from the windshield so we can finally see out the front windshield!

Flat black glare shield in place

Next we did a quick check of the weight and balance to see where we stand now.  The plane is a bit heavier than average, which was expected to some degree because of our choice of engine and nose-gear, plus the added auto-pilot.  Right now, the empty plane weighs 808.6 lbs and it will gain a few more pounds before completion. The empty CG is currently about 10.8 inches aft of the datum, which falls nicely in the target range (9" to 15.5" inches).  A quick check with added passengers and fuel indicates that we are in decent shape, but we'll do more exact calculations once everything is complete.  Hours: 4.5

Monday, June 12, 2023

Fairings, Wing wiring, Flap hinges, AOA tubing, Seatbelts, Fuel lines, Door latches

 A couple of fiberglass fairings were trimmed to fit.  These fairings connect the butt rib to the windshield and clean up the area there.  Attachment holes were drilled in the fairing and the windshield using a drill bit for plastic.  After trimming, pinholes in the fiberglass pieces were filled with dry-micro.

Fitting of fiberglass root-wing fairings

The navigation and beacon lights were installed in the wing tips and wired up to the switches in the panel.  A minor mistake was made by wiring up the green light to the pilot side wing, but quickly found this during test and swapped the lights so they were correct.  

Michael labeling wires for the Nav. lights

Previously we mentioned that the flaps had too much friction, so we reamed out the bushing holes slightly, and also found some paint overspray in wing holes that we reamed out.  After this work, the flaps now function nicely.

Flap hinge works great now

The door latches were painted a flat black (using plasti-dip paint) and one of them (previously drilled) was attached to the door.  The strut-attach brackets were also painted.
Door latch painted flat black and attached
d
Strut attach brackets

We ran into an issue with the tubing for the AOA line (which is run adjacent to the pitot line).  While working on the routing of these tubes along with the fuel lines from the wings, the blue AOA line got pinched when attempting to fold the wings, which tore a nice hole in the tubing.  We will repair this and adjust the routing to prevent this from happening again.  

Blue AOA tubing with a tear

Seatbelts were installed and and all seatbelts torqued down.

Michael installing seat belts

We opened up the rear slot in tje butt-rib (using a dremel tool with sanding bit) to allow for the fuel fittings to rotate into position when the wings are folded/unfolded.  Hours: 28

Fuel line for right wing

Ed checking fuel line routing while closing wing

Tuesday, February 7, 2023

Seats, cowling, fuel site tube

 We replaced the lower cushion foam on the seats with memory foam to make them more comfortable (the factory seats are a common complaint among builders).  3 layers of foam were cut to shape, glued together, and then stuffed into the existing fabric seat covers.  This foam does weigh more than the original foam, but figured that the extra comfort was worth the weight penalty.

New (colorful) seat cushion foam

Some epoxy with flock was added around the fuel door to close up a gap near the hinge and make it look a bit nicer.
Work done around the fuel door

Quite a bit of sanding and filling work (using 3M lightweight filler) was done on all three cowl pieces to shape and smooth them out.  Some lightweight filler was also added around the NACA duct to smooth the transition areas.

Filler work around the NACA duct

Ed getting ready to add some lightweight filler

A protective guard around the fuel site tube was completed, painted black, and installed.  The site tube has a striped pattern behind it to help visualize the fuel level.  Refraction causes the pattern to change when fuel is in the tube.  We also have an electronic fuel bingo sensor that indicates when fuel is low.  This was tested and verified to be working, but we will do some testing before setting the level at which it triggers.
Fuel site tube with stripe pattern.

We also started some work on the right (passenger) door.  The lexan sheets that form the doors were trimmed to fit better against the fuselage.  We still need to do the same for the pilot side door.  Hours: 21

Michael trimming a door panel

Saturday, January 28, 2023

Cowl Baffling, Oil Door, Baggage Floor, etc

Baffling:  To make sure all the air coming into the radiator opening on the cowl actually enters the radiator, we needed to create a baffle seal between the coolant radiator and the cowl.  The radiator provided by Rotax did not have any means to attach a baffle so an aluminum surround was fashioned out of 0.032 aluminum.  It was secured at the four mounting positions of the radiator.  Silicone baffle material was at attached with rivets and rivet washers.  The cowl was installed and the baffle material was marked so that it could be trimmed to fit.

Radiator surround and attached silicone baffle material

Side seal of baffle to cowl

Bottom Seal of Baffle to cowl

The shape of the oil door was tweaked a bit to match the curve of the cowling.  The hinge pin and spring on the oil door were then installed. 

Fuel filter placement was adjusted slightly to improve clearance from the boot cowling.

Baggage Floor:  Two separate thin (0.02") aluminum sheets that formed the baggage floor needed to be modified due to other changes that occurred during fabric covering and fuel routing. Some of the edges were trimmed to prevent interference with the fabric, a hole for the fuel drain was enlarged.  Also, another hole in the floor (no longer needed due to a change in our fuel routing), was patched.

Rear baggage floor with riveted patch and larger hole for drain


Clamps: Four standard Adel clamps (black) were replaced with silicone clamps (blue).  They have a higher temperature rating, but are also the better choice for holding the silicone hoses that they are clamping.  Hours: 15

Blue silicone clamp now holds this silicone hose

Monday, December 5, 2022

Carpet, Fuel lines, Brake system

We had to make some small adjustments to a floor carpet piece that we received from the factory due to some fittings under the seats that were in the way, so Michael put his sewing skills to use to trim and restitch the carpeting.

Michael modifying the floor carpeting

Various clamps holding the fuel lines were checked and torqued, then the fuel line fittings themselves were also torqued and marked with "torque-seal".  A low-pressure test was run on the system (from the header tank to the engine) to look for possible leaks.  The system was pressurized slightly with air, and it is indeed leaking, as it loses about 5psi of pressure over 5 minutes, so more investigation is required to track this down.

As mentioned in a previous post, we decided to remove the parking brake, so the parking brake cable, valve and all associated cabling and tubing was removed.  A nice black plug was installed in the panel where the parking brake lever was previously located.

The left brake had previously been bled, but it has a slow leak at an elbow fitting near the tire.  This fitting needs to be "clocked" correctly, but we found that one more turn to tighten it more was not possible.  After some research, we found a few possible solutions.  One is to use a better thread sealant (now on order), another is to use a new fitting that will have slightly different threads that will allow the correct clocking, and yet another possibility is to tap the threads a little more to allow the fitting to turn a little further.  So we'll try one or more of these options to fix this issue.   Hours: 12

Monday, November 28, 2022

Firewall Interior Heatshield/Upholstery

When we purchased our kit, we also elected to purchase the "premium upholstery" option.  This included a piece that is placed on the interior firewall being attached by velcro strips.  Now that we've just about completed our firewall attachments, it was time to see how this piece fit.  It is actually nicely done, including an insulation layer that should help with both engine heat and a sound deadening layer.  Problem was that it was too tall and interfered with our wiring and heater core installation.  After talking several measurements the  part was cut down to fit.  Had to break out the sewing machine to hem the edges that were now exposed.  Two areas on each side had to be cutout to accommodate the rudder return spring attach points.  The velcro attach points had to be re-done as well.  Four (4) new pieces of velcro was sewn on to the small part.

Hours: 4


Newly Resized Firewall Upholstry Piece

Velcro Strips, the two diagonal we old attach points 

Checking for fitment in the cockpit.

Sunday, November 13, 2022

Firewall passthru, wiring cleanup, hoses, labels

Two firewall wiring pass-thru plates were fabricated from 1/8" titanium plate. A ledge was milled into each piece so that they have some overlap where they meet in the center.  There are 3 holes, two for the large Rotax engine harness HIC cables, and one for other sensor wires and the alternator cable that pass through the firewall. Silicone grommets were used to seal around the cables, and the high temp sealant (Permatex 27036) was also used to seal around the titanium pieces.

Titanium pass-through plates

Our EarthX lithium battery has two vent ports that need to be connected to hoses that can exhaust fumes outside the cabin.  This provides a path for unwanted gases in the unlikely event of a battery failure.  A vent outlet was installed on the bottom of the fuselage.  Teflon tubing will be used to make the connections. Per the manufacturer, nylon fittings can be used if more than 2' from the battery, and brass fittings are needed for closer connections. 

Vent outlet, bottom of baggage compartment

Vent opening, bottom of fuselage

We also ran one additional wire from the battery to the front to accommodate a line from the EarthX lithium battery that provides an indication of a battery fault.  

Additional work is being done to organize, bundle, and clean-up the wiring.  Still quite a bit of work to go here, but we are making progress.

Wire bundling underway, back of fuselage

Wire organization/bundling underway

Rerouting of a coolant hose was completed to provide more clearance, and Adel clamps were also installed to help hold it in place at the Rotax ring mount.  Still need to attach some fire-sleeve material at locations near the exhaust, but at least the routing is completed.

Lower coolant hose rerouted

Panel switch labels were also reprinted to reflect the current switch locations and functions. Hours: 24

Panel switch labels updated