 |
| Workshop Entertainment |

Sunday, January 3, 2016
Workshop TV
To make our garage workshop a little more "liveable", we decide to install a TV. Bought a wall mount kit, and moved this 32" LCD TV from the spare bedroom to the garage. Works great!

Friday, January 1, 2016
Additional Flooring Work

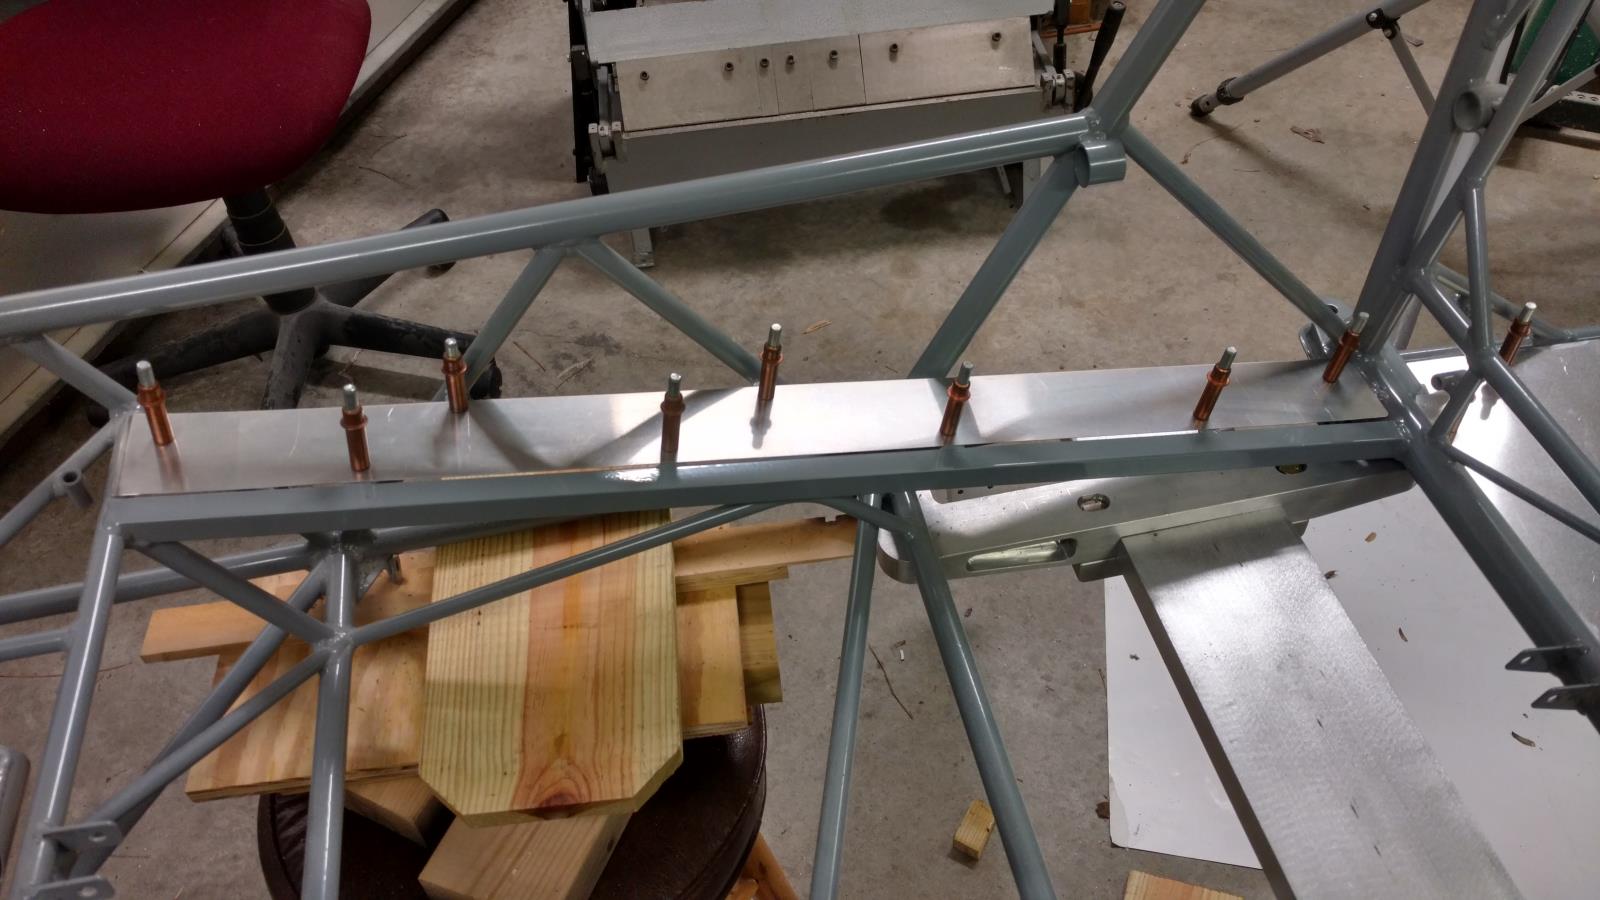
The two flooring panels between the seats and fuselage sides were drilled to final size and all holes and edges were deburred. The flooring panel below the rudder pedals was also drilled to final size and then holes/edges deburred. Hours: 2

Sunday, December 13, 2015
Baggage Flooring
Trimmed and deburred the edges of the aluminum sheets that make up the baggage flooring and back of baggage bay. Additional trimming was done to allow space for the interior finishing fabric to pass between the aluminum sheet and the frame. We also up-drilled the fastener holes for these sheets to the final size (1/8"). These panels are currently cleco'd in place. Hours: 4
 |
| Rear baggage area with flooring |
Sunday, December 6, 2015
Elevator Push-Pull Tube
Installed the short elevator push-pull tube that connects the bell-crank (which also attaches to the long push-pull tube) to the elevator horn. Had to bend the tube up slightly (about 0.5 inch deviation) in front of the front bearing point to alleviate friction. The elevators are not installed yet, so there is currently no connection to the elevator horn. Hours: 1.5
Saturday, December 5, 2015
Control Sticks Installation
 |
| Drilling Control Stick Bolt Hole |
 |
| Control Sticks Installation Completed |
Push-Pull Tube Installation
Installed Long Push-Pull tube, which connects from the control stick mixer to a bell crank in the aft fuselage. The tube had to be bent slightly in front of the front bushing (about 1 to 1.5 inch deviation), and also slightly rear of the back bushing (about 1/2 inch deviation) to relieve binding at the bearing points. Hours: 1.5
 |
| Bending the push-pull tube |
 |
| Push-pull tube attached to horn on control stick mixer |
 |
| Push-Pull tube attached to bell crank in rear |
Friday, December 4, 2015
Bell Crank Installed
 |
| Bell crank installed |
(0.5 hours)
Wednesday, November 25, 2015
Pushrod Bushings Installed
 |
| Bushing Installed |
The rear most position had excess weld material that had to be removed with a Dremel tool.
(0.5 hours)
Monday, November 23, 2015
Control stick mixers installed
 |
| Control stick mixer installed |
 |
| Standard washer and fabricated wedge washer |
Sunday, November 22, 2015
Control stick mixer adjustment
Spent more time fine-tuning the mixer by adding various washers between the halves of the bushings. Removed the mixer completely so that each bearing point could be worked on independently, which made it easier to tell which part was either too loose or was still binding. Adding washers that have a slight wedge shape frees the mechanism and enables it to move freely, but it moved much too easily and had too much wobble, so more adjustment is needed. Hours: 3
Sunday, November 15, 2015
Installing control stick mixer
Test fitted the control stick mixer, with installation of nylon bushings (F-1310). Reamed the holes and did a test install, but there was too much friction and the mixer did not turn freely. Removed powdercoat paint, and tried adding additional washers between the halves of the bushing as suggested in the manual, but still had binding on the sides. Found that by grinding a washer at a slight angle, we can push the arms of the bushings out slightly to help free the mechanism. Work will continue to find the perfect balance so that parts fit snug and the mixer rotates easily. Hours: 2.5
Sunday, November 8, 2015
Control Stick Mixer
 |
| The builders with the control stick mixer |
 |
| Closeup of the control stick mixer |
Installed connecting rods and control stick pivots to mixer. Spent a few hours fixing problems with binding, which was caused by tiny misalignment of parts. Found that the ends of the control stick pivots were slightly angled out, so bent those straight which helped tremendously. Once all parts were moving freely without any binding, they were greased and assembled. Castle nuts and cotter pins were used to fasten these parts. Hours: 3.5
Friday, November 6, 2015
Flying Wires
 |
| Flying wires hanging from hooks |
 |
| Flying wires installed |
Tuesday, November 3, 2015
Just Highlander
This is a picture of a completed Just Highlander with nosegear. Once completed, ours will generally resemble this.
 |
| Tricycle configuration with Grove Main Landing Gear |
Sunday, November 1, 2015
Finished Flying Wires for Horizontal Stabilizer
The two bottom Flying wires were constructed using the stainless steel cable, thimbles, and swag crimps provided. Once the cables were completed, all six cables were temporarily installed on the rear fuselage. Hours: 2.5
Subscribe to:
Posts (Atom)