
We started working on the windshield this week. We are installing a "Steve Dentz" windshield that is pre-formed instead of the standard windshield that is bent into shape from a flat sheet.
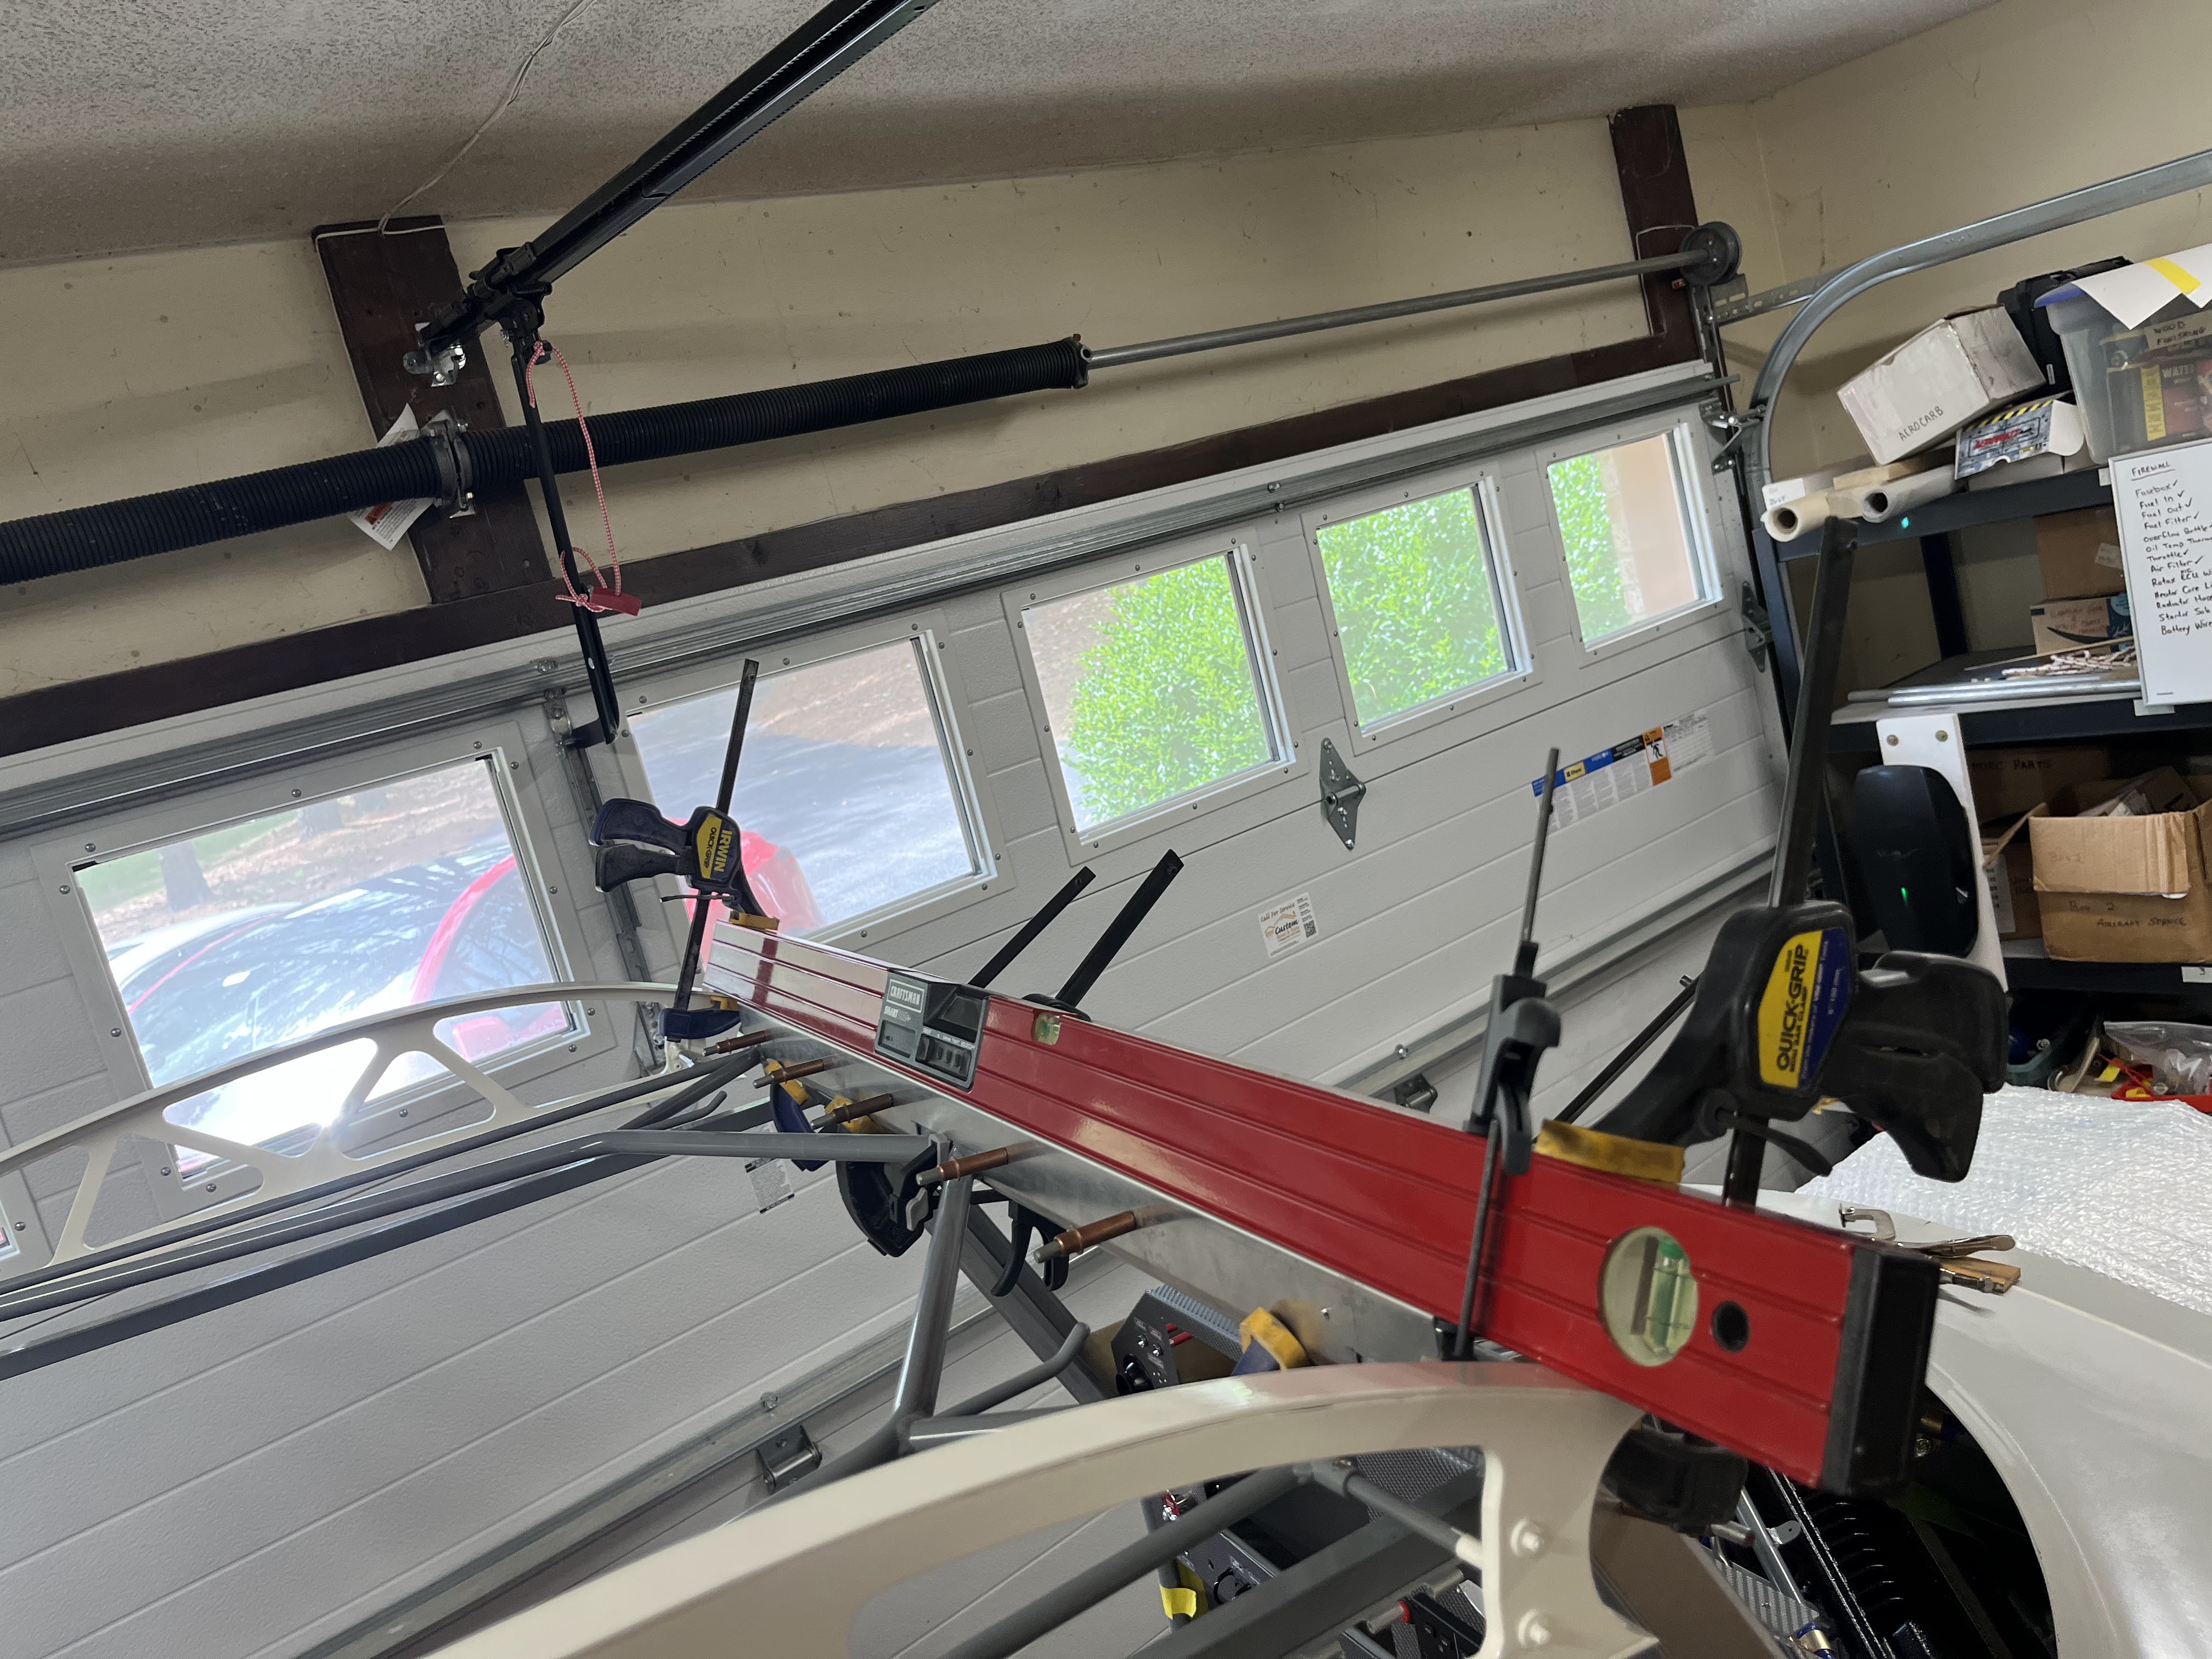
The top windshield bracket is made up of 2 aluminum pieces riveted together, with a cap strip that will be attached across the top. The angle of the 2 pieces didn't quite line up with our roofline, so we bent them slightly with a 36" brake to get them to line up. The two pieces were trimmed and riveted together. The bracket was clamped to a long straight edge to ensure it lined up with the top of the root rib, and holes were drilled through the fuselage tabs into the bracket so it could be cleco'd in place.
 |
| Windshield bracket clamped in place |
Holes were drilled approximately every 4 inches along the top and back edge of the cap strip, and match drilled holes in the windshield bracket (these are the locations where the windshield and sunroof will be screwed into place), and then additional holes were drilled for the rivets for attaching 6-32 anchor nuts. The anchor nuts were then riveted in place to the windshield bracket.
 |
| Drilling for an anchor nut |
The windshield bracket was cleco'd in place, and the windshield was set in place. The three pieces of the cowling were also attached to check the fit of the windshield. The windshield was trimmed slightly to ensure there was no interference. Locations for screws along the boot cowl were marked every 2 inches, and then 1/8 inch pilot holes were drilled in the boot cowl. Still have a ways to go to get the windshield installed, but making good progress. Hours: 12
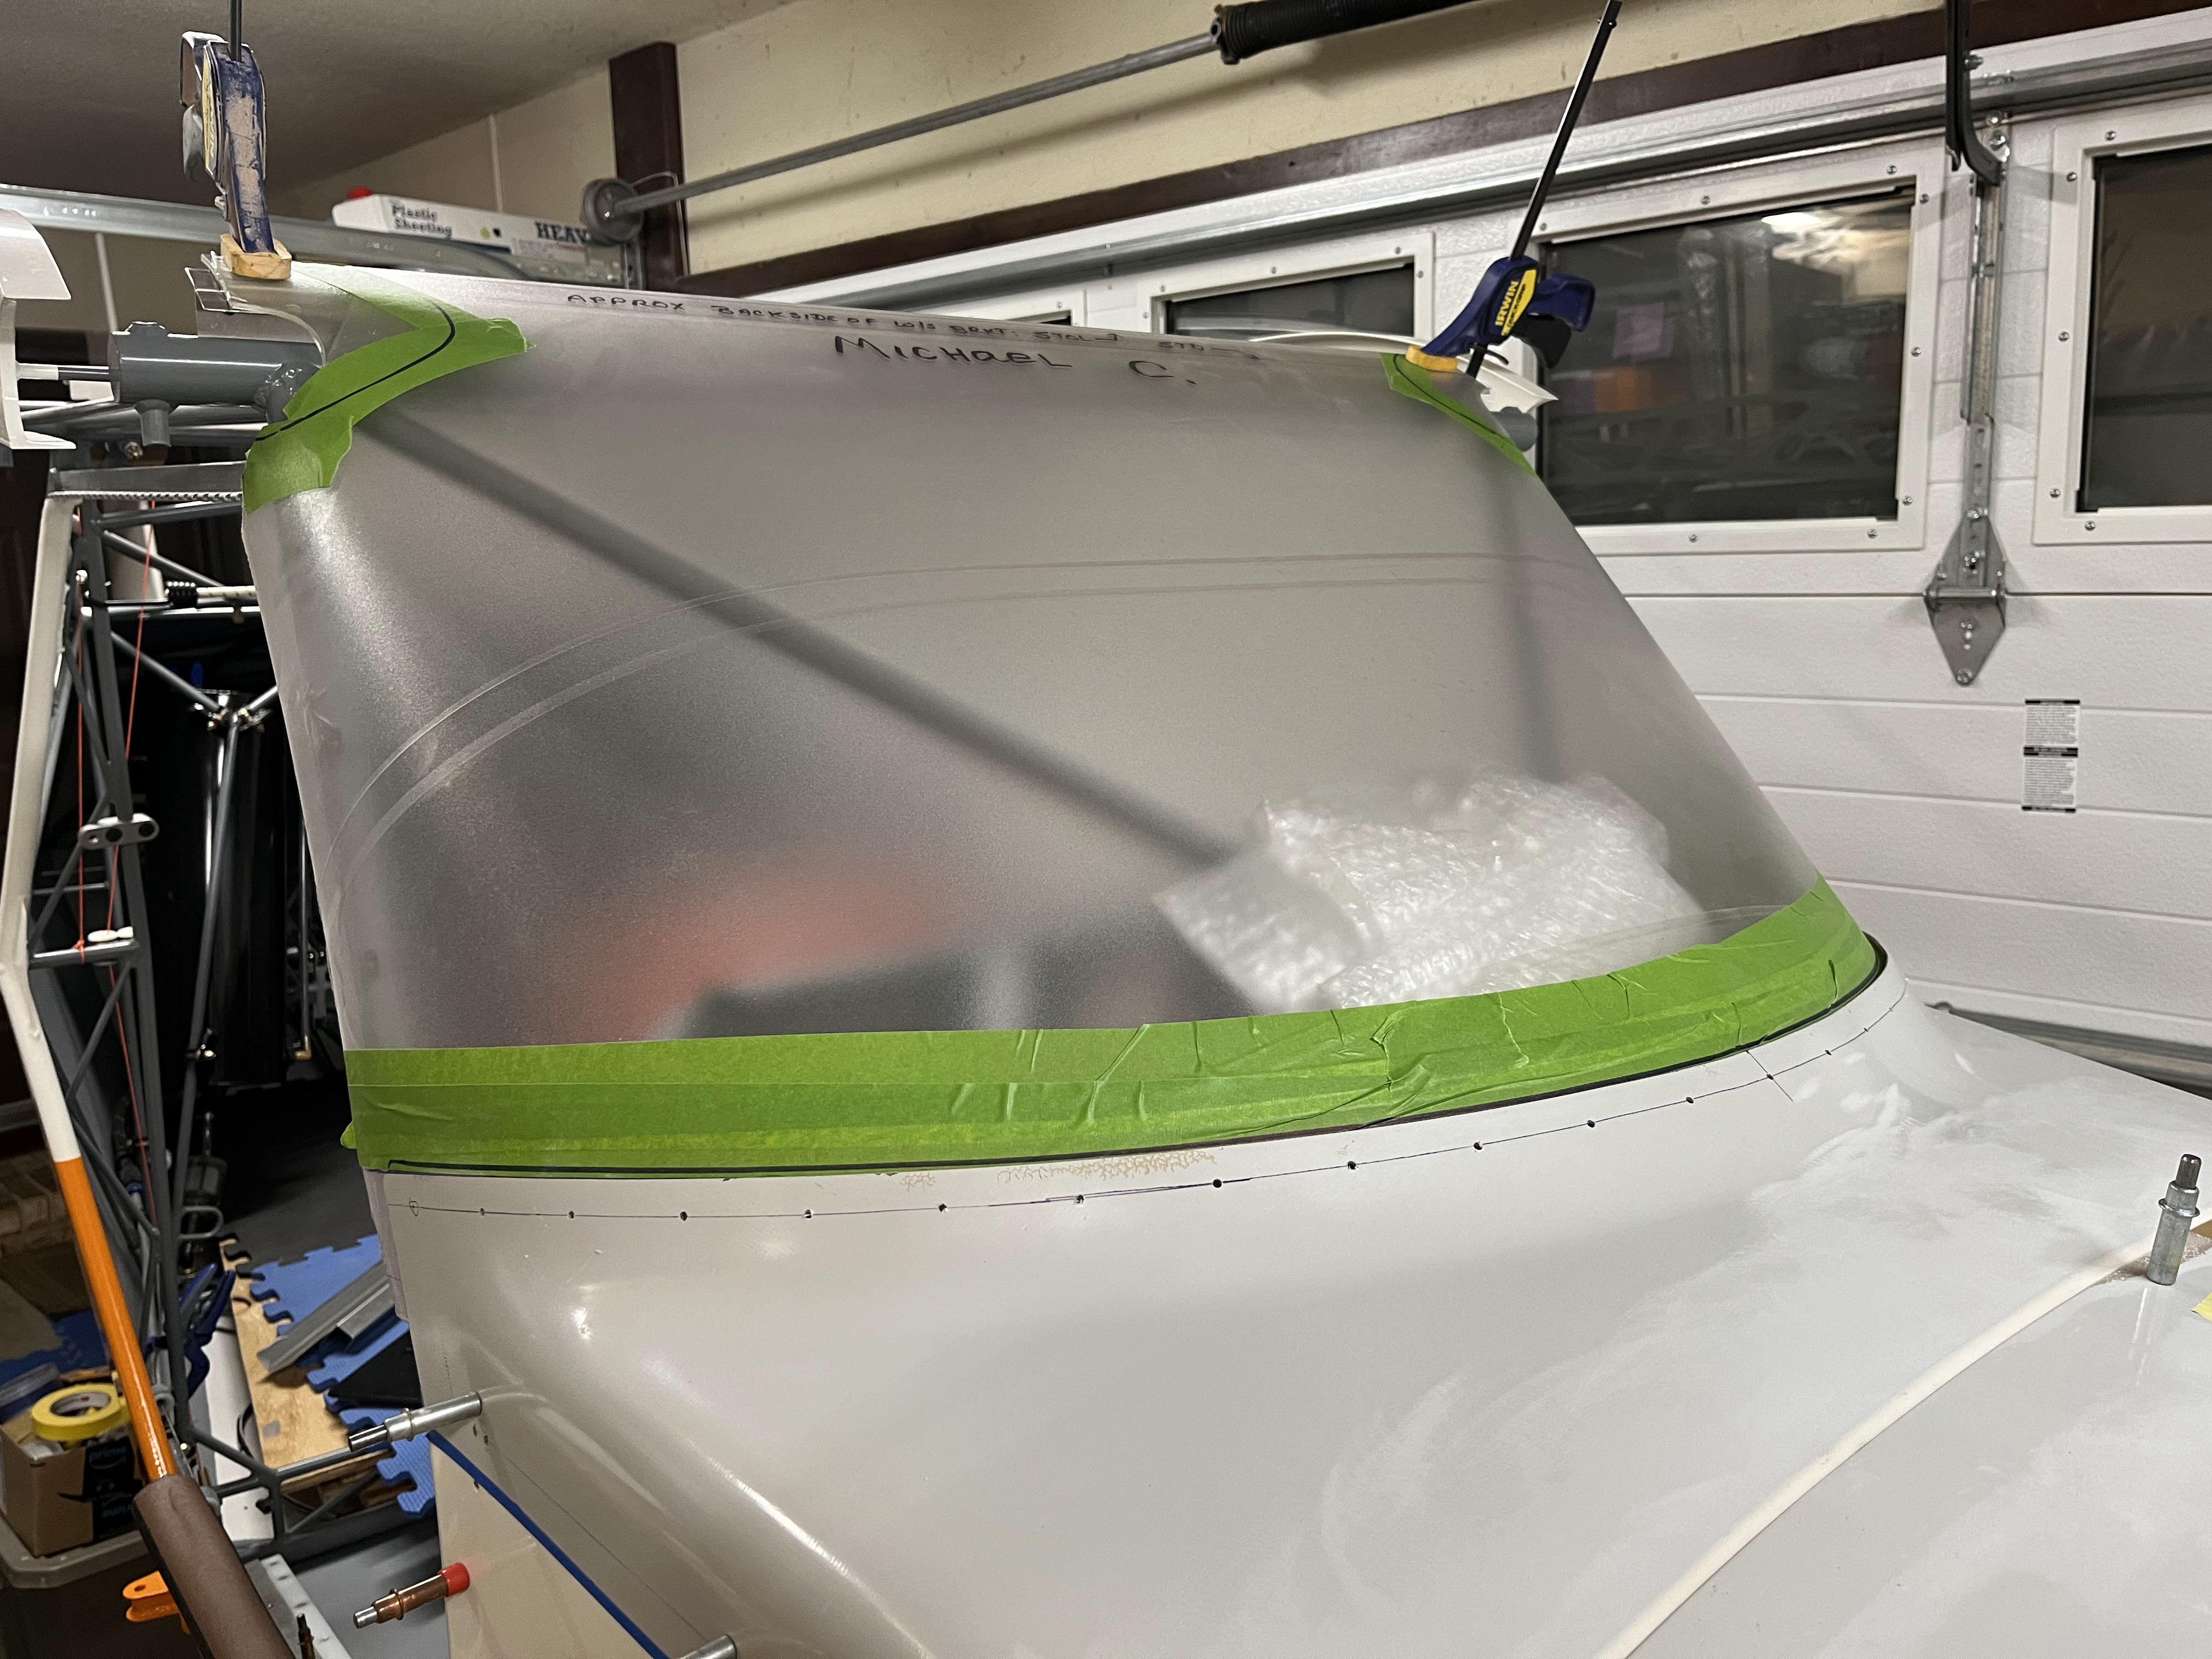 |
| Windshield fitted and pilot holes drilled in boot cowl |
No comments:
Post a Comment