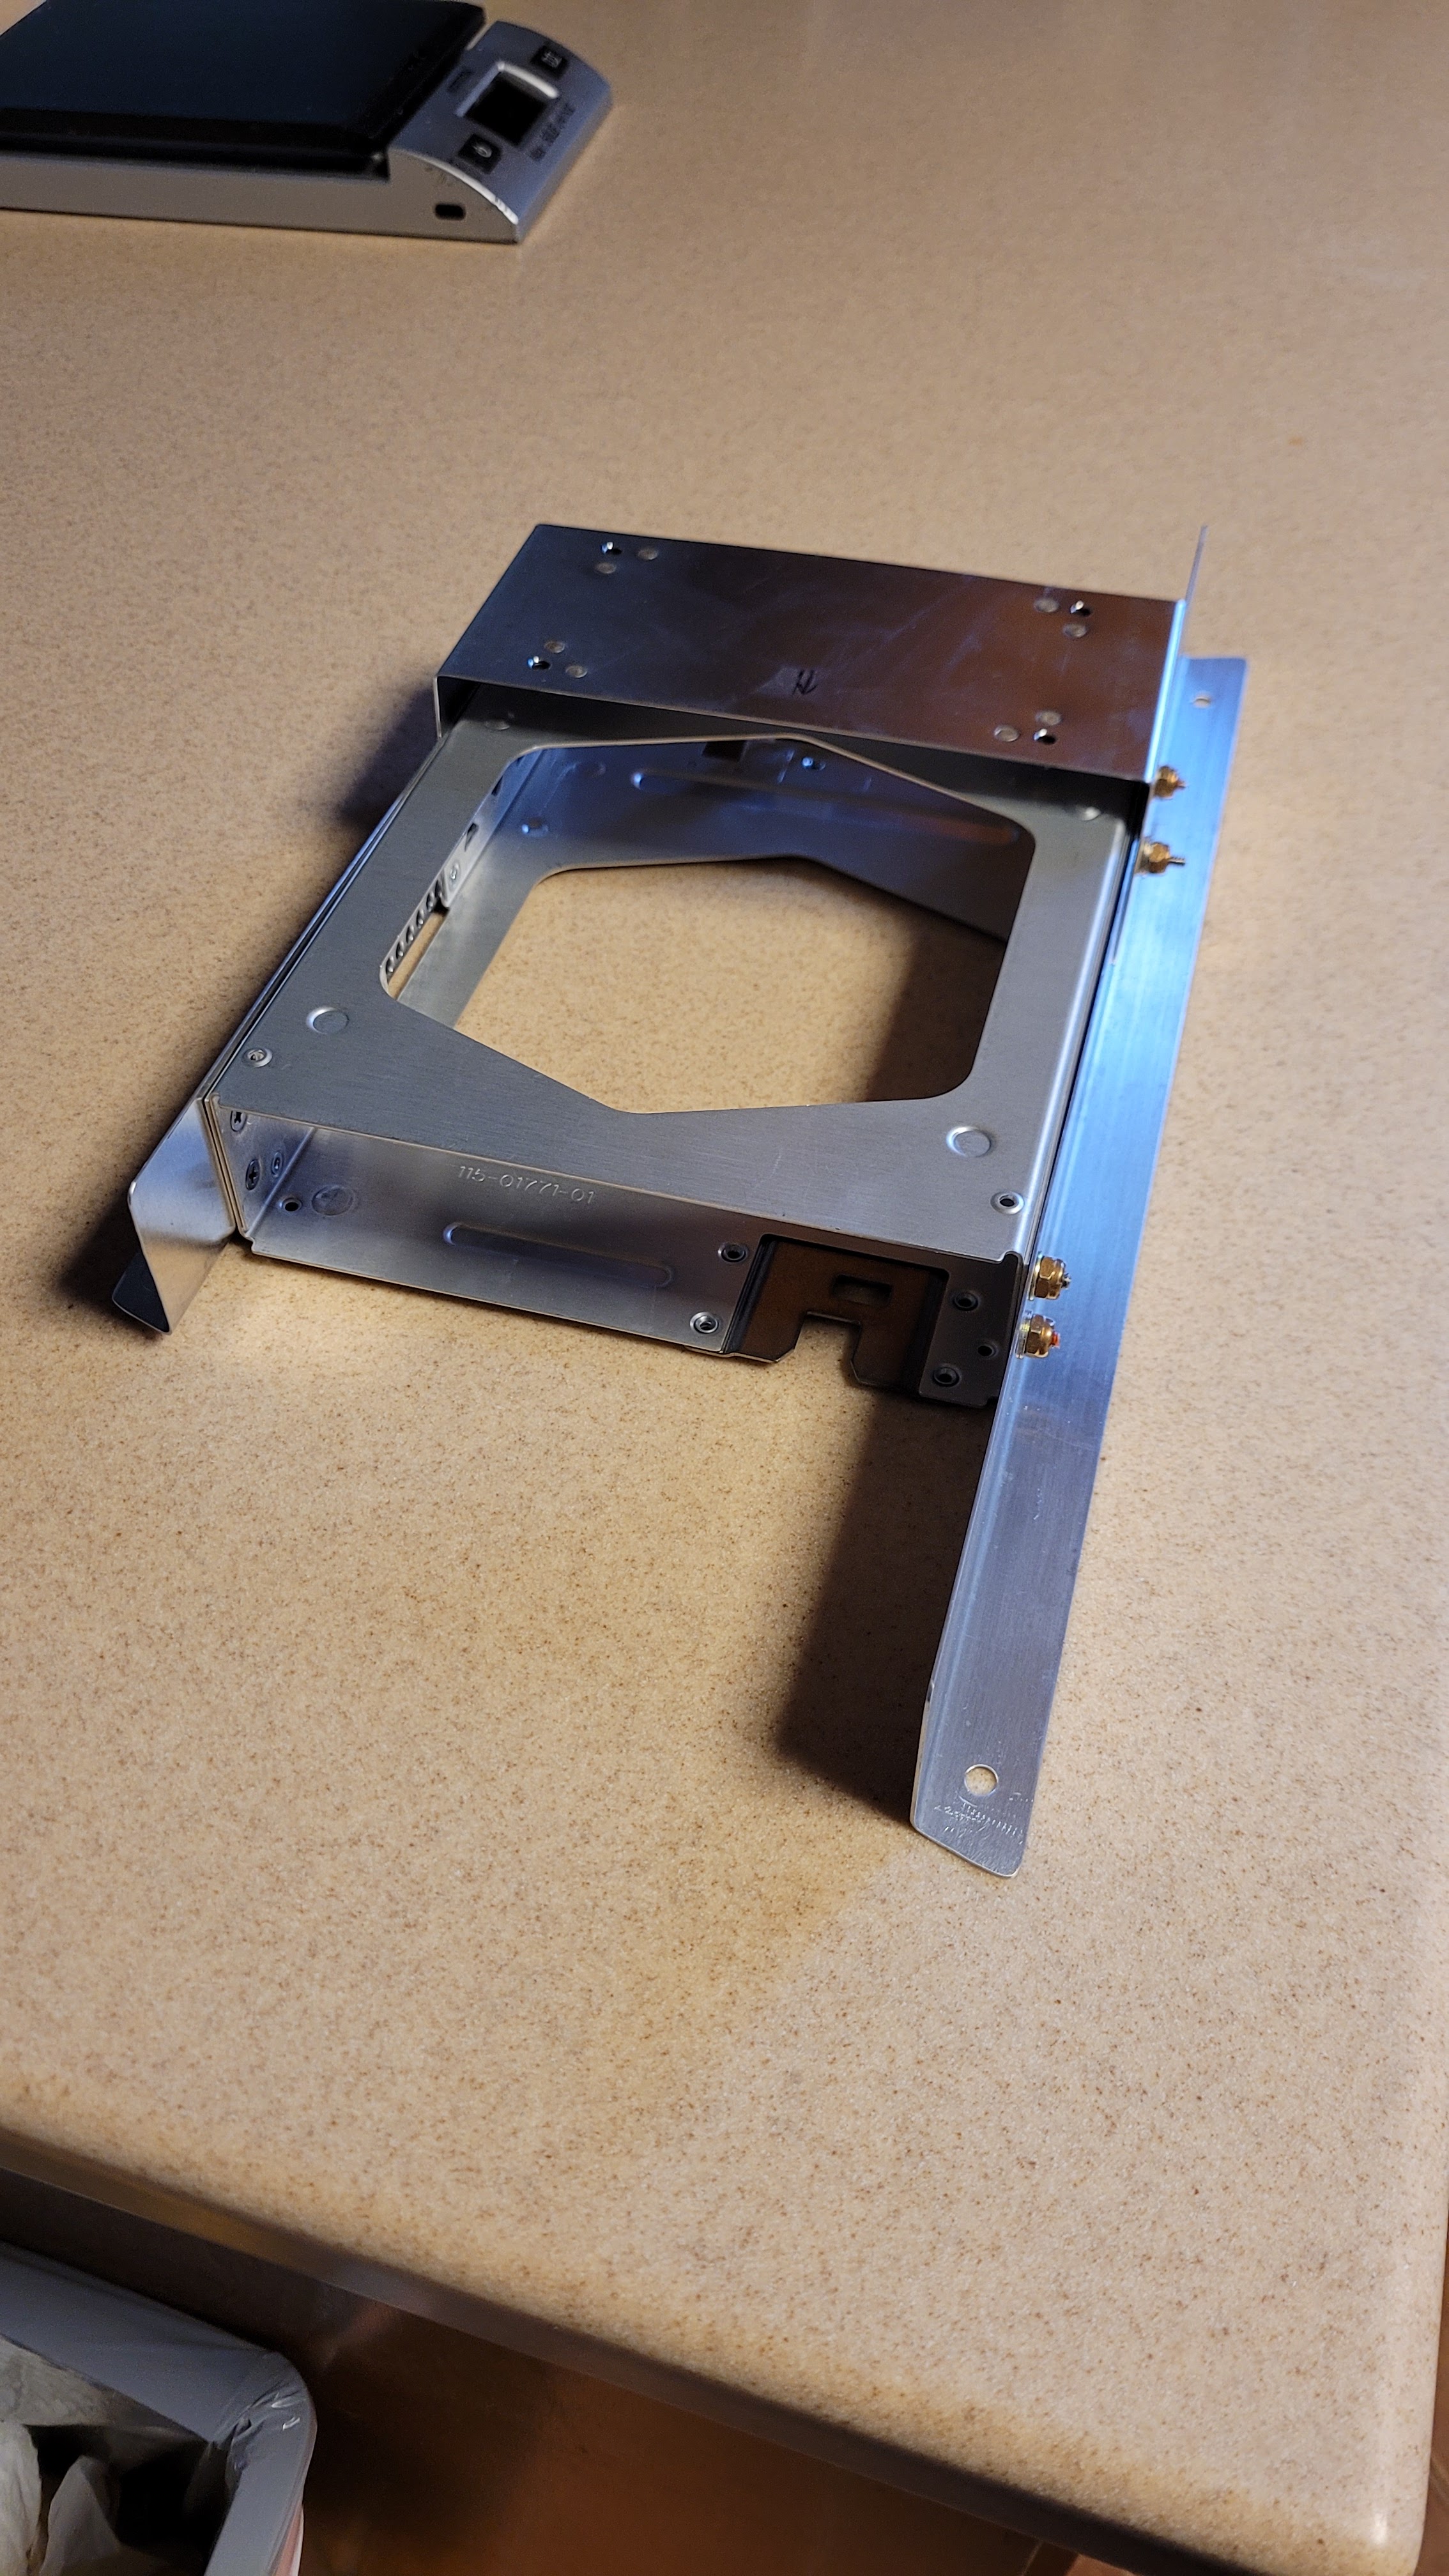
The Rotax Fusebox was placed on the engine side of the firewall per Rotax recommendations. We spent some time looking for a good mounting locations and the location in the attached picture is the best we could come up with. Not super convenient, but acceptable.
 |
| Rotax Fusebox Mounting Location |
A lot of work has been put into getting the panel installed into the airplane cockpit. As mentioned earlier, we had a local builder cut out our panel on a Shopbot CNC machine. A little cleanup was needed on the panel. We also had to cut one hole by hand for the Rotax Debug port as we forgot to add that in the computer software. Once the panel as cleaned up, we used our large brake to bend the four flanges that help stiffen the panel and provide some safety shielding at the bottom. Since we have a lower end brake, we had to use some sacrificial material to make sure we got the bend radius we needed for the 0.040" aluminum we used on the panel.
After the panel was bent, a gray carbon fiber vinyl wrap was applied to the panel. The vinyl was removed from the holes in the panel using a sharp razor blade and a good X-acto knife.
On the lower portion of the panel, there are three points that attach the panel to the fuselage. Two screws hold the panel on the outer portions and the throttle control secures the panel in the center. The top of the panel needed to have some supports . Two supports were fashioned out of extruded aluminum angle. The one on the right side needed to have some features added to clear the Garmin G3X. Mike got he shape and bends in the aluminum set and Ed followed up by welding the complex bend to make the part stronger. As can be seen in the attached picture, the panel supports go from the top of the panel to some fuselage support tubing behind the panel. The radio also needed some additional support at the back, due to its long moment arm. A support was fashion to connect it to a fuselage support tube, again shown in the attached picture.
 |
| Michael Installing Panel |
 |
| Temporary Panel Labels |
 |
| Panel and Radio Supports added |
The Rotax ECU needs to be installed in the cockpit area. We spent a lot of time trying to find a good location that wouldn't interfere with the side NACA ducts or the cabin heat radiator. We finally found a location on the left side behind the panel suspended from some fuselage support tubing.
Hours: 15
 |
| Rotax ECU Mounting |